Direct Answer: Wet the droppings with disinfectant, let them soak, then wipe them up with paper towels. Never vacuum or sweep, that sends harmful particles into the air.
Finding rodent droppings in your home stops you cold, and that reaction makes sense. One caller who contacted us described it exactly right: she wanted help with rodent removal and a deep cleaning of droppings, and she listed the cleanup first. That’s not unusual. For a lot of Santa Cruz homeowners, the droppings are what make the problem feel real and urgent.
The cleanup matters more than most people realize, and not just for peace of mind. Dried rodent feces can crumble and become airborne when disturbed, releasing particles linked to hantavirus and salmonella. The way you clean them up is as important as cleaning them up at all.
This guide walks through the correct cleanup process, explains how to read where droppings appear as a map of rodent movement through your home, and helps you figure out when the job has grown beyond what’s reasonable to handle yourself.
Step 1, Prepare the Space Before You Touch Anything
Before you pick up a single dropping, spend a few minutes setting up the right conditions. This part takes ten minutes but protects your lungs.
Open windows and doors in the area you’re cleaning. Let fresh air move through the space for at least 15-30 minutes before you start. This dilutes any airborne particles already present.
Then gather your supplies:
- Disposable gloves, nitrile or rubber, not cloth
- An N95 mask or better, a standard dust mask is not enough
- Paper towels, not rags you’ll reuse
- A disinfectant spray, any EPA-registered product, or a bleach-and-water solution mixed at about 1.5 cups of bleach per gallon of water
- A sealed plastic bag for disposal
Skip the broom. Skip the vacuum. Both of them launch particles into the air rather than capturing them, and that’s exactly what you’re trying to avoid.
Step 2, Wet the Droppings, Wait, Then Wipe
The correct sequence is simple, but the order matters.
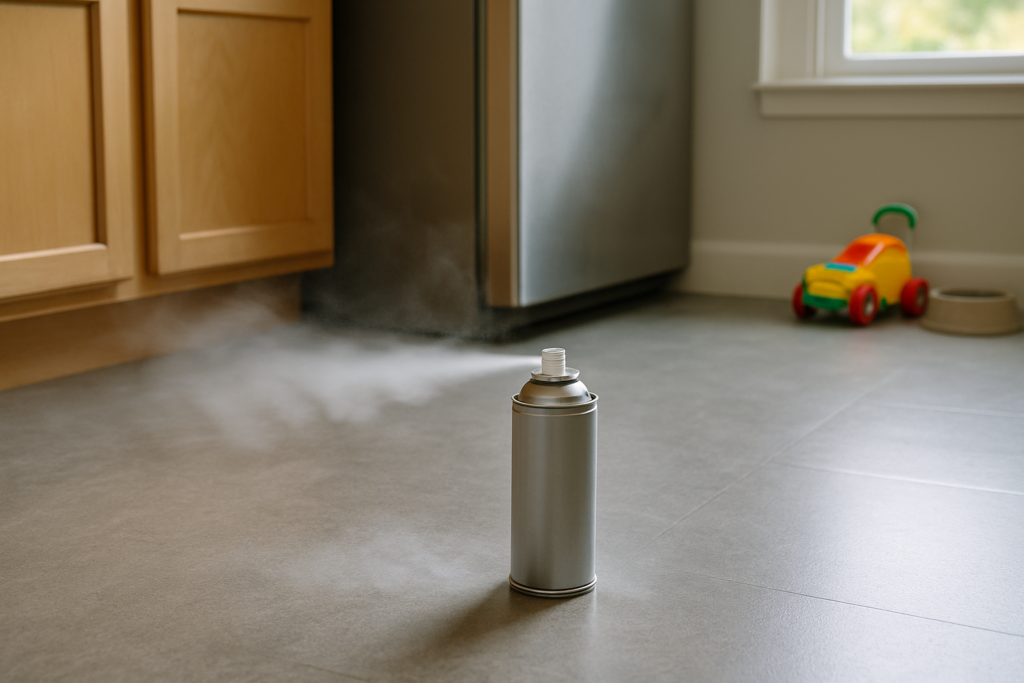
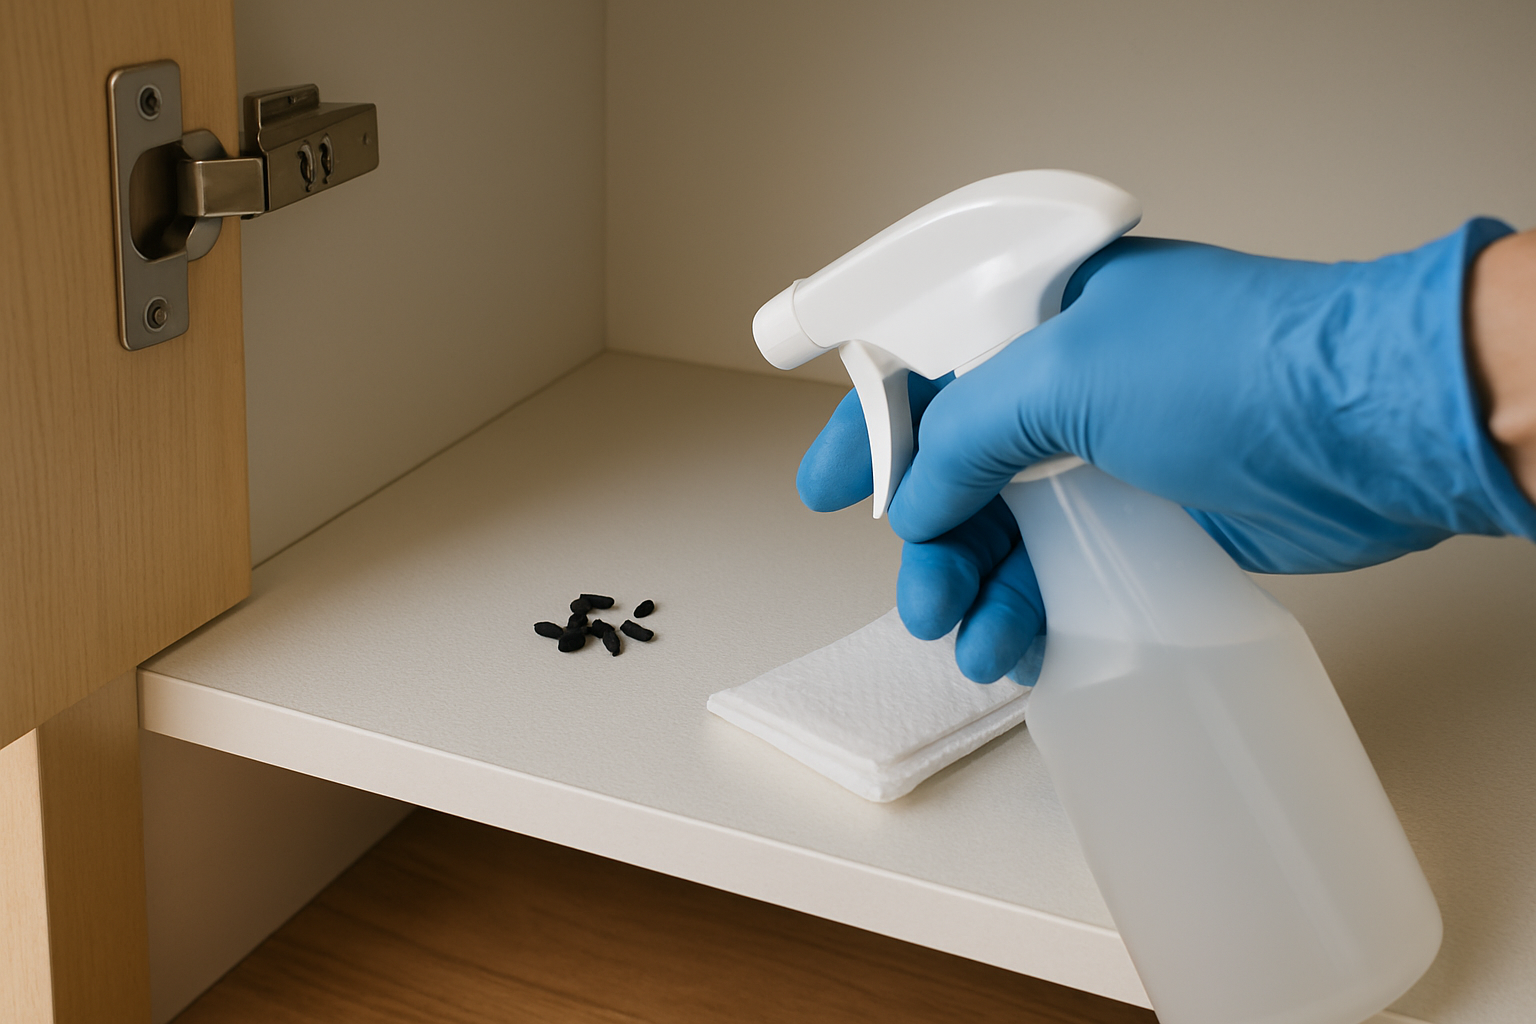
Spray the droppings directly with your disinfectant. Soak them thoroughly, you want the liquid to penetrate, not just coat the surface. Then wait at least 5 minutes before touching anything. That contact time is what the disinfectant needs to do its job.
After soaking, pick up the droppings by pressing paper towels over them. Don’t scrub or rub, that breaks them apart. Fold the paper towels inward so the waste is enclosed, drop them into your plastic bag, and seal it.
Wipe the area again with a fresh disinfectant-soaked paper towel. Then wash your hands thoroughly with soap and water even though you were wearing gloves, remove the gloves carefully, turning them inside out as you pull them off, and bag those too.
For surfaces like cabinet shelves or countertops, a final wipe with a clean damp cloth is a good idea before putting anything back. If you’re cleaning up in a crawl space or attic where droppings have built up in insulation, the process is more involved, more on that below.
Step 3, Read the Droppings Like a Map
Where you find droppings tells you almost as much as finding them at all. Rats and mice move along fixed routes, and droppings follow those routes closely.
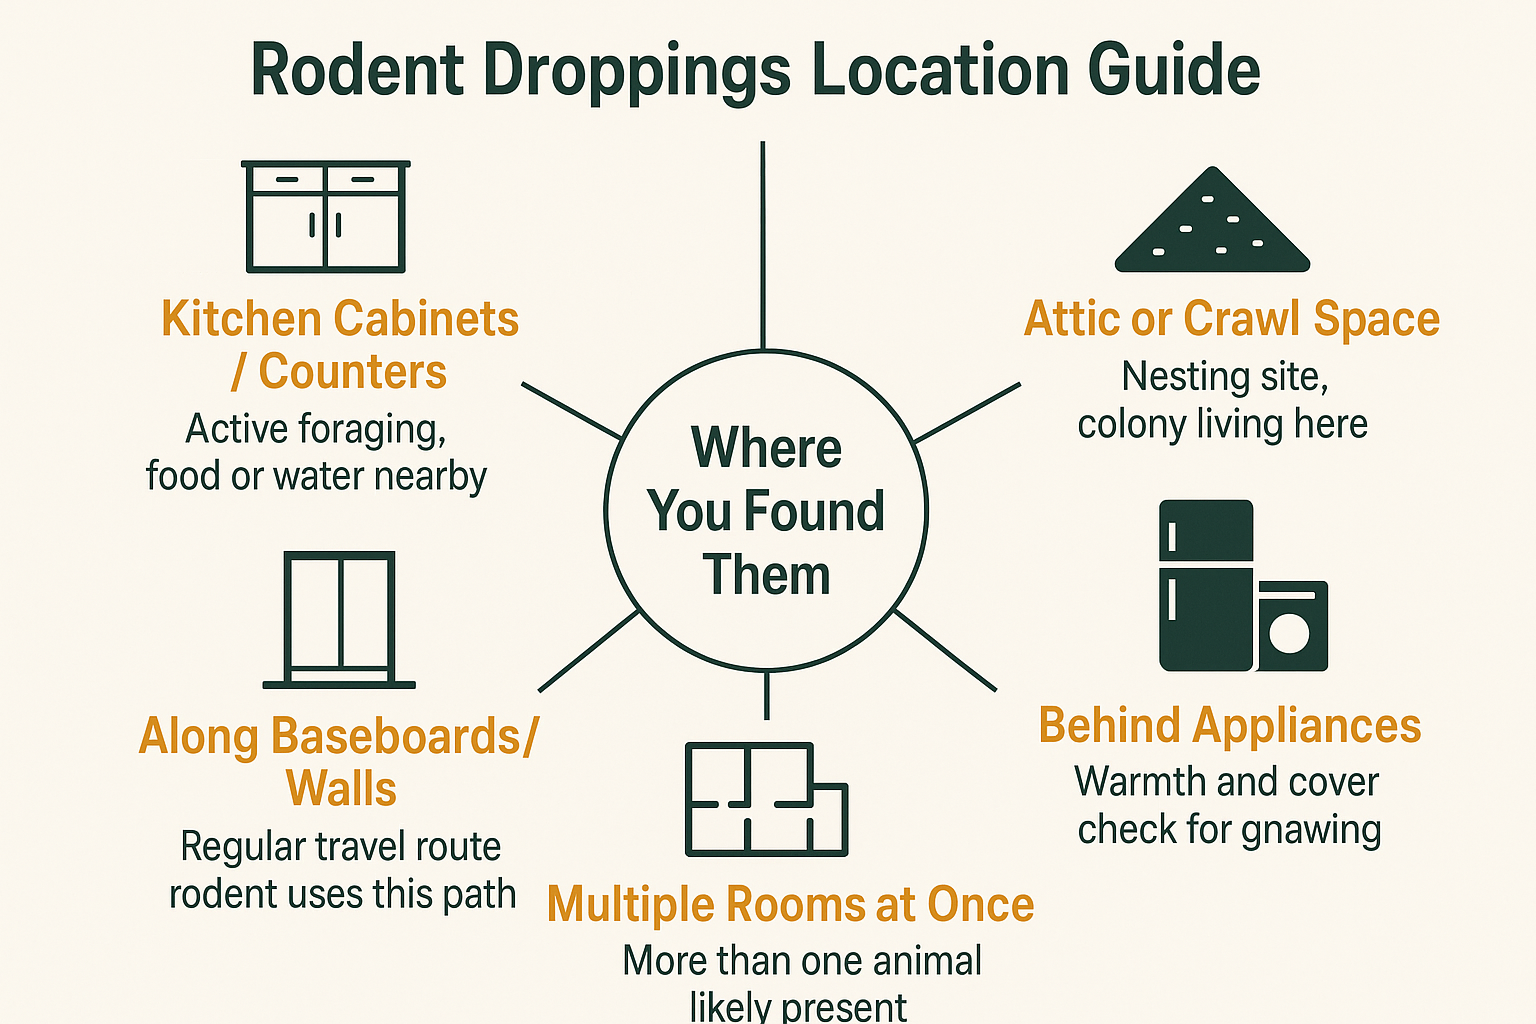
Kitchen cabinets and countertops, droppings here mean the rodent is actively foraging. It found a food source or water source and is returning to it regularly. The infestation is working its way into your living spaces, not just hiding in structure.
Along wall bases and behind appliances, this is typical travel-path activity. Rodents hug walls when they move, so a trail of droppings along a baseboard tells you exactly which route they use.
Attic insulation, crawl space corners, wall cavities, droppings concentrated in one area, often mixed with shredded material, point to a nesting site. This is where the colony is living, not just passing through.
The difference matters when you’re trying to understand the scope of the problem. A few droppings near the stove is a different situation than a thick accumulation in an attic corner. If you’re finding droppings in multiple rooms at once, you’re likely dealing with more than one animal. For a closer look at what level of activity separates a minor problem from a full infestation, this breakdown of the difference between a rodent problem and a rodent infestation is worth reading.
Where Droppings Appear and What It Means
This infographic maps dropping locations to rodent behavior patterns, so you can quickly assess what you’re dealing with before deciding on next steps.
DIY Cleanup vs. Professional Remediation, How to Decide
Not every situation calls for the same response. Use this as a quick guide for deciding what level of cleanup is appropriate for what you’re dealing with.
| Situation | DIY Reasonable? | What to Do |
|---|---|---|
| A few droppings in one cabinet or drawer | Yes | Disinfect, wipe, dispose, and monitor for more activity |
| Droppings along a baseboard in one room | Yes | Disinfect and clean the area; check entry points nearby |
| Droppings in multiple rooms or recurring after cleanup | No | Professional assessment needed, active infestation likely ongoing |
| Heavy accumulation in attic insulation or crawl space | No | Volume and risk level require professional remediation equipment |
| Droppings mixed with nesting material (shredded insulation, paper) | No | Nesting site present, professional inspection and removal recommended |
Step 4, When the Volume Is Too Large to Handle Alone
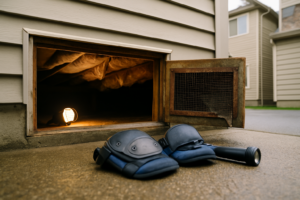
Santa Cruz County has a lot of older housing stock, Craftsman bungalows on the Westside, beach cottages near Pleasure Point, hillside cabins in Ben Lomond and Scotts Valley. Many of these homes have crawl spaces and attics that go uninspected for years. By the time a homeowner notices a problem, droppings can cover a significant portion of the insulation.
At that scale, the risks change. A large accumulation of dried feces in an enclosed, poorly ventilated space is genuinely hazardous to disturb without the right protective equipment. A standard N95 isn’t always enough when you’re dealing with heavy contamination.
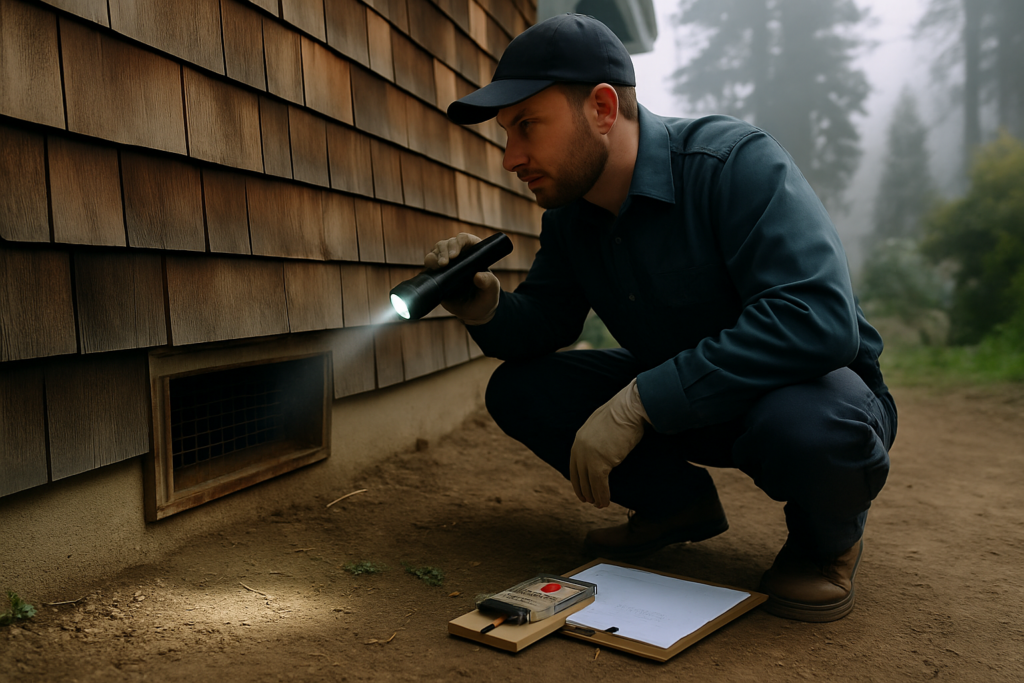
Professional remediation at this level typically involves removing and replacing contaminated insulation, treating the space, and then sealing the entry points that let rodents in. It’s not a quick job, and the cost varies considerably depending on access difficulty, square footage, and the extent of contamination, so getting a direct assessment is the only reliable way to understand what you’re looking at. If you’re curious about what a professional actually checks during that kind of visit, this look at what pest inspectors look for inside your home explains the process in plain terms.
The takeaway is this: the longer the gap between when rodents moved in and when you address it, the larger the cleanup task. Several homeowners who’ve contacted us described hearing rodents in walls and vents for weeks before calling, and in almost every case, the longer wait meant more work on the back end.
Step 5, Understand That Cleanup Alone Does Not Solve the Problem
Cleaning up droppings addresses what’s already there. It does not stop more from appearing.
Droppings stop accumulating only when two things happen: the active rodents are removed, and the entry points they used are sealed. Without both, the cycle continues. You can clean the kitchen cabinet today and find fresh droppings in the same spot next week.
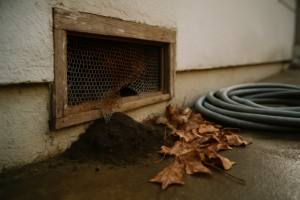
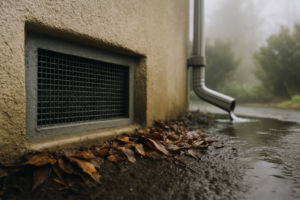
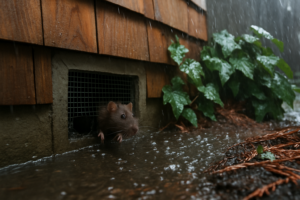
Rats can squeeze through an opening roughly the size of a quarter. Mice need even less space. In an older Santa Cruz home with gaps around pipes, worn weather stripping, and foundation vents in poor repair, there are often several entry points that aren’t obvious to someone who doesn’t know what they’re looking for. This breakdown of what the rodent exclusion and sealing process actually looks like gives a good sense of what’s involved.
If you’re finding droppings in walls or hearing movement in the ceiling at night, understanding what draws rats into the walls of your home is a useful next read. And if you’ve dealt with rodents before and they keep returning, this explanation of why rats come back even after you’ve dealt with them addresses the most common reasons that happens.
Frequently Asked Questions About Rodent Droppings Cleanup
Can I use a regular household vacuum to clean up rodent droppings?
No. A standard vacuum, even one with a HEPA filter, can aerosolize dried fecal particles and push them into the air you’re breathing. Always wet the droppings with a disinfectant first, let it soak for at least 5 minutes, and wipe them up with paper towels.
How do I know if the droppings are from rats or mice?
Size is the main tell. Mouse droppings are small, roughly the size of a grain of rice, with pointed ends. Rat droppings are larger, about the size of an olive pit, and more blunt. Fresh droppings are dark and soft. Older droppings are dry, gray, and crumble easily. If you’re not sure, a technician can confirm the species during an inspection, which matters because rats and mice behave differently and respond to different control methods.
Is it safe to clean droppings myself if I have kids or pets in the house?
Yes, with the right precautions. Keep children and pets out of the area while you work and until surfaces are fully dry. Wear gloves and an N95 mask, ventilate the space before you start, and dispose of all materials in a sealed bag. If the contamination is in an attic or crawl space, that’s a different situation, I wouldn’t recommend doing that yourself.
What does it mean if I keep finding fresh droppings after cleaning?
It means the rodent is still present and still active in that area. Recurring droppings in the same spot are a clear sign the animal hasn’t been removed and the access point hasn’t been addressed. At that point, the problem isn’t going to resolve on its own, a professional assessment makes sense.
My house is older with a crawl space. How do I know how bad the accumulation is down there?
Honestly, most homeowners don’t know until someone goes under and looks. Crawl spaces in older Santa Cruz homes can accumulate years of droppings before anyone notices. If you’ve confirmed a rodent problem in your living spaces, it’s worth having a technician check the crawl space at the same time, the scope of what’s down there affects the whole remediation plan.
Ready to Get a Clear Assessment of What You’re Dealing With?
If you’ve found droppings and aren’t sure what comes next, West Pest Co. serves homeowners throughout Santa Cruz County, from the Westside to Aptos, Scotts Valley, and the mountain communities. Matthew West has earned back-to-back Readers Choice Best Pest Control awards in Santa Cruz for exactly this kind of straightforward, no-pressure guidance. You can reach the team directly at (831) 430-8402 or visit westpestco.com to learn more about how they approach rodent control.