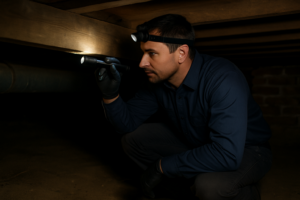
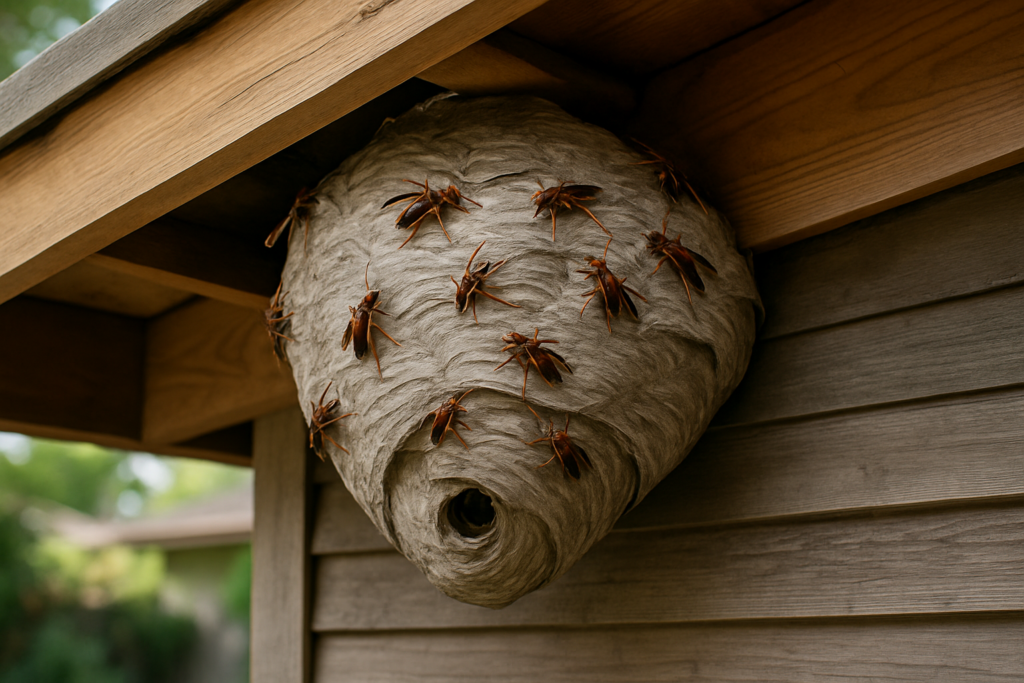
A little bit of prep work before the pest control team arrives can make a world of difference. Think of it as clearing the way for the treatment to get to the hard-to-reach spots where pests love to hide and breed. Taking these initial steps seriously ensures you get the most out of your service, allowing the solutions to penetrate deeply and stop pests from finding a safe place to regroup.
Your Pre-Treatment Game Plan
This isn't just about tidying up; it’s about strategic preparation. When technicians have clear access to baseboards, corners, and under furniture, the treatment is far more effective. It's a team effort, and your prep work is a crucial part of the pest management process.
The global pest control market was valued at around USD 26.68 billion in 2024, a number that's expected to keep growing. This isn't just a random statistic—it shows how vital professional pest solutions have become, driven by increasing urbanization and a greater focus on health. Knowing what kind of treatment you’re getting (sprays, baits, traps) helps you prepare correctly.
Key Preparation Steps
To keep things from feeling overwhelming, I always tell clients to focus on three things: inspecting, clearing, and communicating. A structured approach means you'll cover all your bases without getting stressed out. For a really thorough walkthrough, you can use a detailed pest control inspection checklist to make sure nothing gets missed.
This visual guide breaks down the simple, three-step process to get your home ready for our visit.
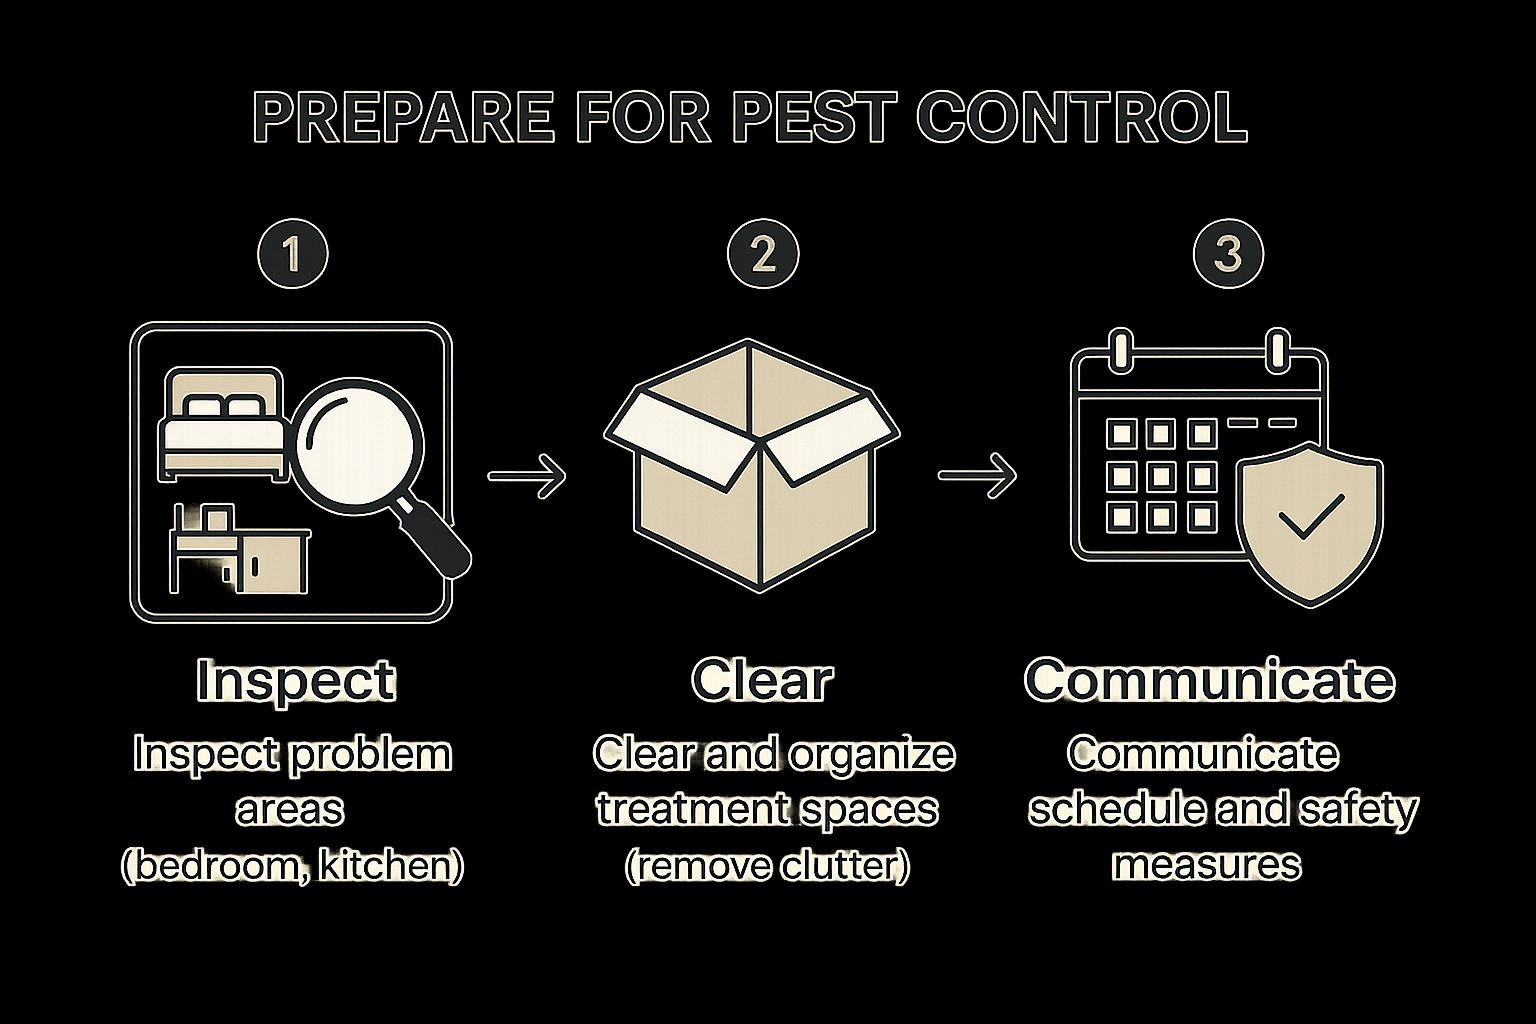
By taking a look at the problem areas, clearing away clutter, and talking with your technicians, you're setting the stage for a truly successful treatment.
To make it even easier, here's a quick table you can reference. Just focus on these critical tasks before we knock on your door.
Quick Prep Checklist Before the Exterminator Arrives
| Area of Home | Essential Preparation Task | Why It Matters |
|---|---|---|
| Kitchen | Clear countertops and empty cabinets under the sink. | Technicians need access to common pest entry points and hiding spots like plumbing voids. |
| Living Areas | Move furniture 3-4 feet away from the walls. | This creates a clear path for treating baseboards and perimeters where pests travel. |
| Bedrooms | Strip beds and clear items from closet floors. | Allows for thorough inspection and treatment of mattresses and closets, especially for bed bugs or spiders. |
| Bathrooms | Empty the vanity and cabinets. | Like the kitchen, this provides access to plumbing areas that are hotspots for moisture-loving pests. |
| General | Vacuum floors, especially carpets and corners. | Removes food crumbs, pest eggs, and debris, making treatments more effective. |
Completing these simple tasks means we can get straight to work addressing the root of the problem, giving you better, longer-lasting results. A little teamwork goes a long way
Securing Your Kitchen and Pantry
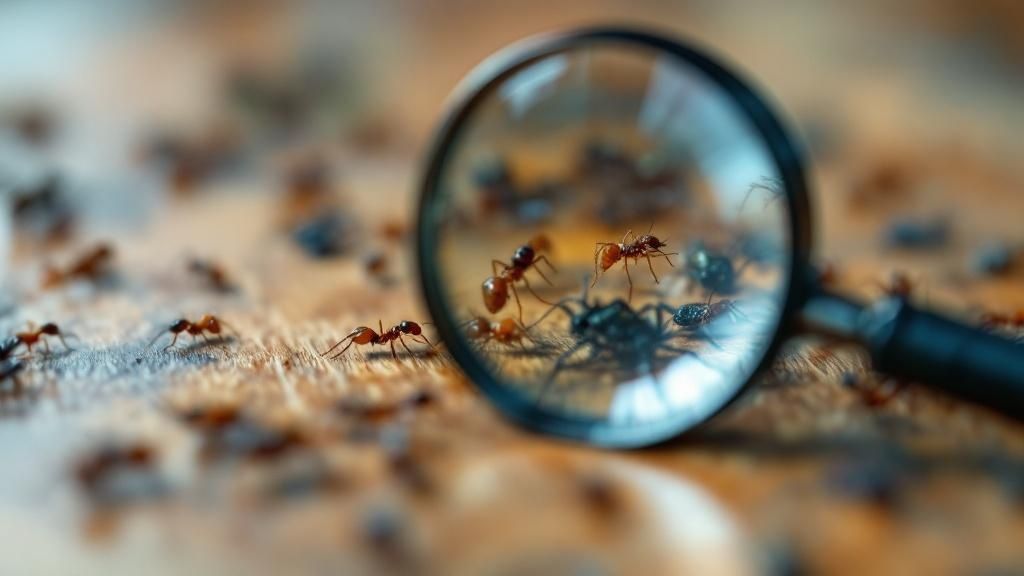
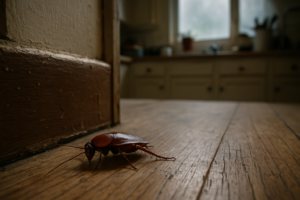
From our experience, the kitchen is almost always ground zero for pest infestations. Pests like ants and roaches are naturally drawn to the endless buffet of food, water, and hiding spots it provides. Getting this area ready for treatment is non-negotiable, and it involves more than just a quick wipe of the counters.
The biggest task ahead is to completely empty all of your kitchen cabinets and drawers. Pay special attention to the ones under the sink or near appliances, as these are prime real estate for pests. This single step gives our technicians the clear access they need to treat the deep corners and voids where pests love to hide, breed, and build their nests.
It might feel like a hassle, but skipping this can seriously limit how effective the treatment will be. If you're feeling overwhelmed, you might even consider scheduling professional deep cleaning services beforehand to tackle built-up grease and food grime. A cleaner slate always makes our job easier and the results last longer.
Food and Appliance Storage
With the cabinets empty, your next focus is cutting off the food supply. Pests can thrive on the tiniest crumbs, so every single edible item needs to be secured.
- Pantry Goods: Move things like flour, sugar, cereal, and pasta out of their original cardboard boxes and into airtight plastic or glass containers. Trust us, pests can easily chew through thin bags and boxes.
- Pet Food: Don't forget about your furry friend's food. Transfer kibble and treats from their bags into a sealed bin.
- Small Appliances: Unplug your toaster, coffee maker, blender, and anything else on the countertops. You can either move them to an untreated room or cover them completely with a thick sheet or plastic wrap.
Expert Tip: After emptying your cabinets, wipe them down with a simple soap and water solution. This does more than just clean; it erases the invisible pheromone trails that pests like ants leave behind to navigate. You're essentially wiping their GPS clean.
Properly securing your kitchen starves pests of the resources they need to survive, which is a huge step in preventing them from coming back. If you have a stubborn ant problem, learning how to specifically kill kitchen ants with targeted strategies can also give you long-term relief. Ultimately, by taking these steps, you’re not just prepping for a treatment—you’re making your home a much less attractive place for pests to begin with.
Prepping Bedrooms and Living Areas

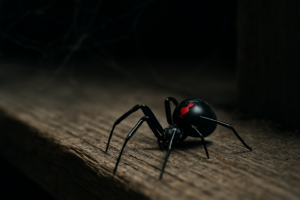
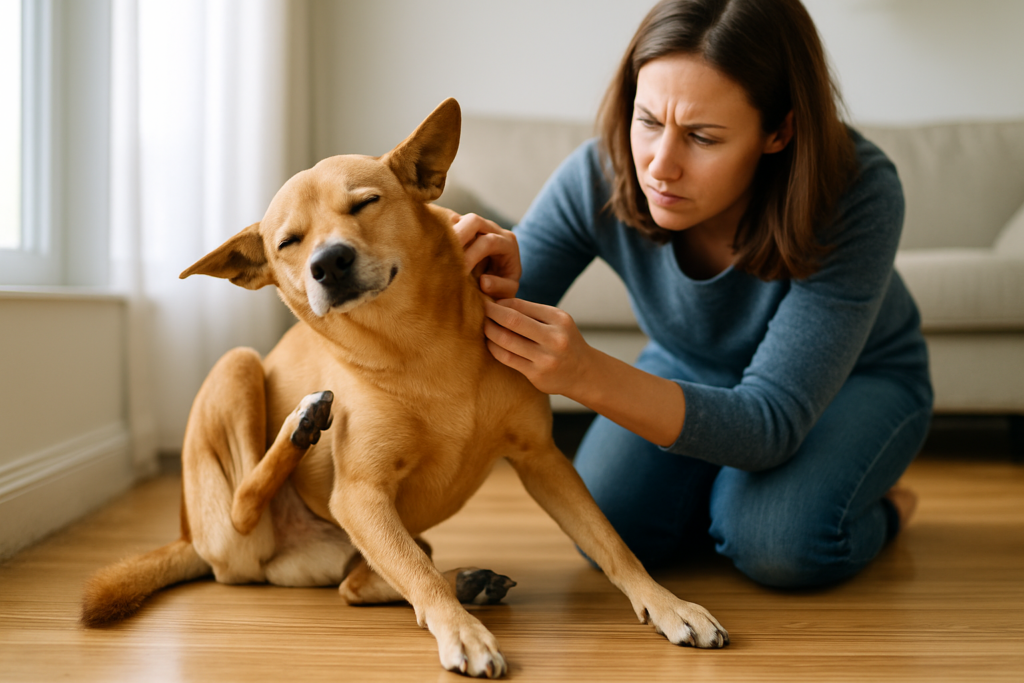
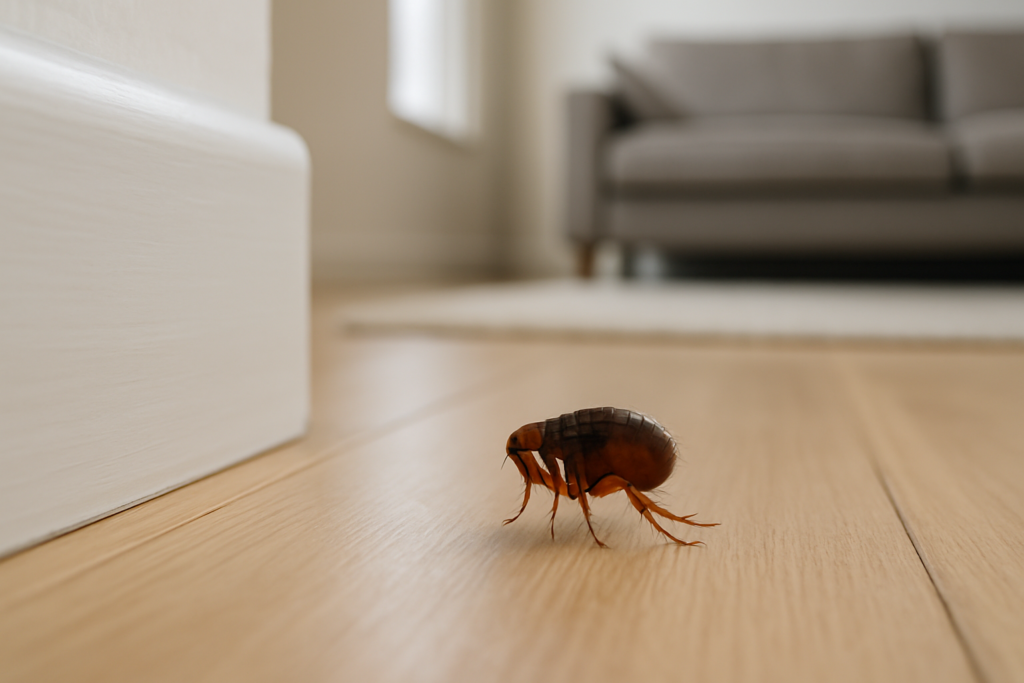
When it's time to prepare for pest control, your bedrooms and living areas are ground zero for pests like spiders, fleas, and even bed bugs. These spaces are full of perfect hiding spots, so giving our technicians clear access is absolutely essential for a successful treatment.
First things first, you'll need to pull all your furniture at least two to three feet away from the walls. This means shifting beds, couches, dressers, and nightstands. Why? Because baseboards are basically pest superhighways. If we can't treat the perimeter of the room, we're missing a huge opportunity to target where pests hide and breed. As you're moving things around, it's a good idea to use some practical tips for protecting your furniture to avoid scuffs or dings.
Handling Personal Items
Clearing the room is one thing, but properly managing your personal belongings is just as crucial. You want to protect them from the treatment products and, just as importantly, make sure you don't accidentally reintroduce pests after we leave.
Here’s a quick breakdown of what to do:
- Bedding and Linens: Strip every bed. All sheets, blankets, and pillowcases need to be washed in hot water and dried on the highest heat setting. This is a non-negotiable step to kill any lingering pests or their eggs. Once they’re clean and dry, seal them up in fresh plastic bags.
- Clothing: Empty out closets and dressers. Any clothes left in open hampers should be gathered, too. Just like your bedding, wash and dry everything on high heat, then pack it all away in sealed bags or bins until after the treatment is complete.
- Kids’ and Pets’ Toys: Round up all the toys, paying special attention to plush or fabric items. Wash what you can, and for the rest, pack them into sealed plastic bags and move them out of the area we'll be treating.
A thorough vacuuming is your secret weapon. Go over carpets, rugs, and upholstery meticulously. This doesn't just pick up dirt—it removes unseen pest eggs and allergens, giving the treatment a clean slate to work on.
Understanding the bigger picture also helps. The pest control market in North America is projected to surpass USD 9.48 billion by 2025, largely driven by new technologies and a greater awareness of health risks. This shows just how seriously homeowners are taking pest issues, and it’s why your prep work is so important for getting the best results.
Protecting Children and Pets During Treatment
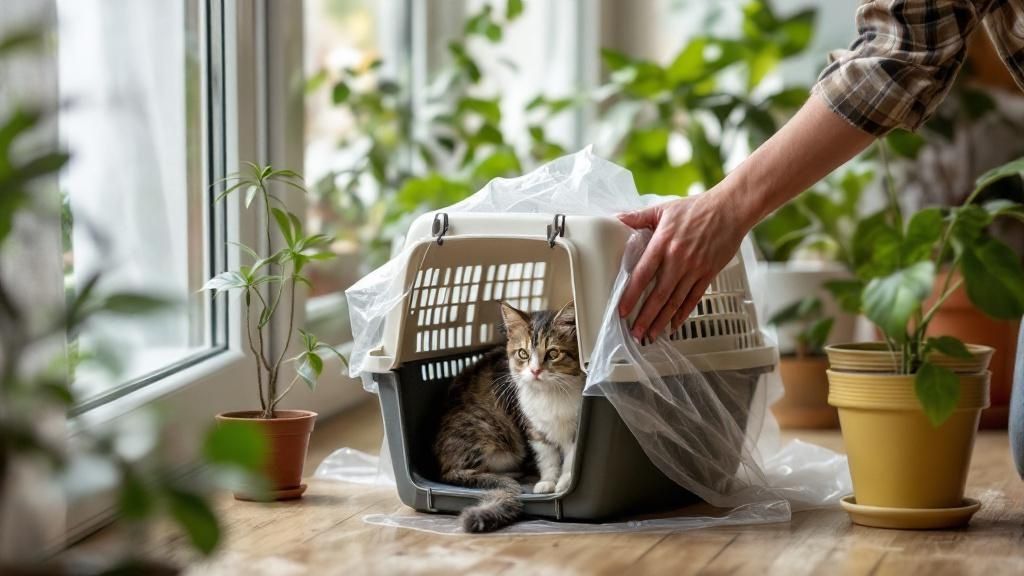
When we come to treat a home, nothing is more important than the safety of your family, especially its most vulnerable members. While our professional treatments are designed to be safe once they’ve settled and dried, the application period itself requires a few key precautions for children and pets.
Their natural curiosity and closeness to the floor means they're at a higher risk of coming into contact with wet products. That’s why the single most important step is to have kids and pets out of the house during the service.
Plan a fun outing to the park, a visit with relatives, or a trip to doggy daycare. They should stay away for the time your technician recommends—usually just a few hours—which gives everything plenty of time to dry completely.
Securing Their Environment
Before you head out, you'll want to secure all the items your kids and pets use every single day. This simple step prevents any accidental exposure and makes sure their space is perfectly safe when they return.
- Toys and Bedding: Gather up all pet toys, children's toys, bedding, and blankets. It’s a good idea to wash what you can, then seal everything in plastic bags or bins. You can store them in an untreated area, like your car or the garage, until the service is done.
- Food and Water: All pet food and water bowls need to be washed and put away. The same goes for high chairs, baby bottles, and any other child-feeding accessories.
- Specialty Items: For things you can't easily move, a quick cover does the trick. Drape clean sheets or plastic wrap over cribs, playpens, and changing tables. If you have a fish tank, turn off the air pump and cover the top securely with plastic wrap to keep airborne droplets out of the water.
By taking a few minutes to prep their space, you create a controlled environment where the treatment can work effectively without compromising anyone's safety. For more great advice on this, check out this guide on how to organize your home, particularly around kids and pets.
Our team is trained to prioritize the safest and most effective methods for your family. To learn more about our commitment to safety, you can read our guide on child-safe pest control.
What to Expect After the Treatment
So, the technician has packed up and driven away, but your job isn't quite over yet. What you do in the next few hours and days is a huge part of making sure the treatment really sticks and works for the long haul. Knowing what to do—and just as importantly, what not to do—is your next critical step.
The first question on everyone's mind is always, "When can we go back inside?" Your technician will give you a specific timeframe, but a good rule of thumb is to wait until all the treated surfaces are completely dry. This usually takes somewhere between two to four hours. I always tell my clients to use this time to open up the windows and doors. Let the house air out, which helps any lingering smells disappear and speeds up the drying process.
The First 24 to 48 Hours
Don't be surprised or alarmed if you suddenly see more pests scuttling around right after the service. I know it seems counterintuitive, but this is actually a great sign. It means the products are working, flushing critters like ants and roaches out from their hiding spots and into the open.
Now, you might be itching to grab the mop and do a deep clean, but you need to be a little strategic about it.
- What you can clean: Go ahead and wipe down your food prep surfaces. Kitchen countertops, dining tables, and anywhere else you eat should be cleaned with regular soap and water.
- What you shouldn't clean: Hold off on mopping the floors or scrubbing along the baseboards for at least a couple of weeks. Technicians apply a residual barrier in these exact spots, and that product needs to stay put to keep working.
A Quick But Important Tip: Please, resist the urge to use any of your own bug sprays or powders from the store. These products can actually work against the professional-grade ones we use, sometimes even pushing pests into other, untreated areas of your home and making the problem much worse.
Monitoring and Keeping Pests Out for Good
Long-term success is a team effort between our professional service and your own vigilance at home. The fact that the global pest control market is expected to hit USD 53.1 billion by 2035 shows just how much people are recognizing the importance of sanitation and health. You can read more about these global pest control trends to see the bigger picture.
For you, this means continuing to keep an eye out for any pest activity, making sure food is always in sealed containers, and promptly fixing any new leaks or cracks you find. The prep work you did before we arrived and how you follow through afterward are what truly turn a one-time service into a lasting solution.
Of course. Here is the rewritten section, crafted to sound like it was written by an experienced human expert.
Common Questions About Pest Control Prep
Even with a good checklist, you're bound to have a few questions. That's completely normal. We hear them all the time from homeowners who want to make sure they're getting it right. Let's walk through some of the most common concerns we address before a treatment.
How Clean Does My House Really Need to Be?
This is probably the number one question we get, and the answer is usually simpler than people think. We're looking for a “functional” clean, not a “spotless” one. Your main goal here is to cut off the pests' food supply and clear the way for our technicians to do their job.
A good, thorough vacuuming is far more valuable than dusting every picture frame. Pay special attention to the edges of rooms and behind furniture. Wiping down your kitchen counters, cleaning up greasy splatters on the stove, and taking out the trash are all critical steps. Think less about making your home magazine-perfect and more about making it easy for the treatment to reach where it needs to go.
What Happens If I Don't Prepare Properly?
Skipping the prep work can seriously undermine the treatment's effectiveness. Clutter can physically block our materials from reaching the spots where pests hide and breed. Worse, leaving out food or crumbs can attract pests right back to the area, sometimes just hours after we leave. It could even void your service guarantee, leading to a frustrating and costly follow-up visit. A little effort upfront really does save a lot of trouble later.
What Stays and What Goes?
Figuring out what to empty can be confusing, and honestly, it changes depending on the pest we're targeting.
- Kitchen Cabinets: Do you need to empty every single one? For a cockroach treatment, the answer is almost always yes. Cockroaches hide deep in warm, dark cracks and crevices, and we need clear access to treat those areas effectively. For something like ants, it might not be necessary. Always confirm with your technician.
- House Plants: Is it safe to leave them out? Generally, yes. Most indoor plants will be perfectly fine. If you have particularly delicate or edible plants (like that herb garden on your windowsill), a simple solution is to group them in a bathtub and cover them with an old sheet for extra peace of mind.
Clearing up these common questions about pest control prep helps ensure everything goes smoothly on treatment day. The more prepared you are, the better the results will be.
Are you ready for a pest-free home but have more questions? The expert team at West Pest Co. is here to help. We offer fast, responsible, and effective solutions tailored to your needs. Contact us today for a thorough inspection and a customized treatment plan.