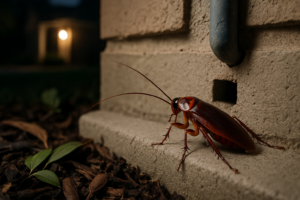
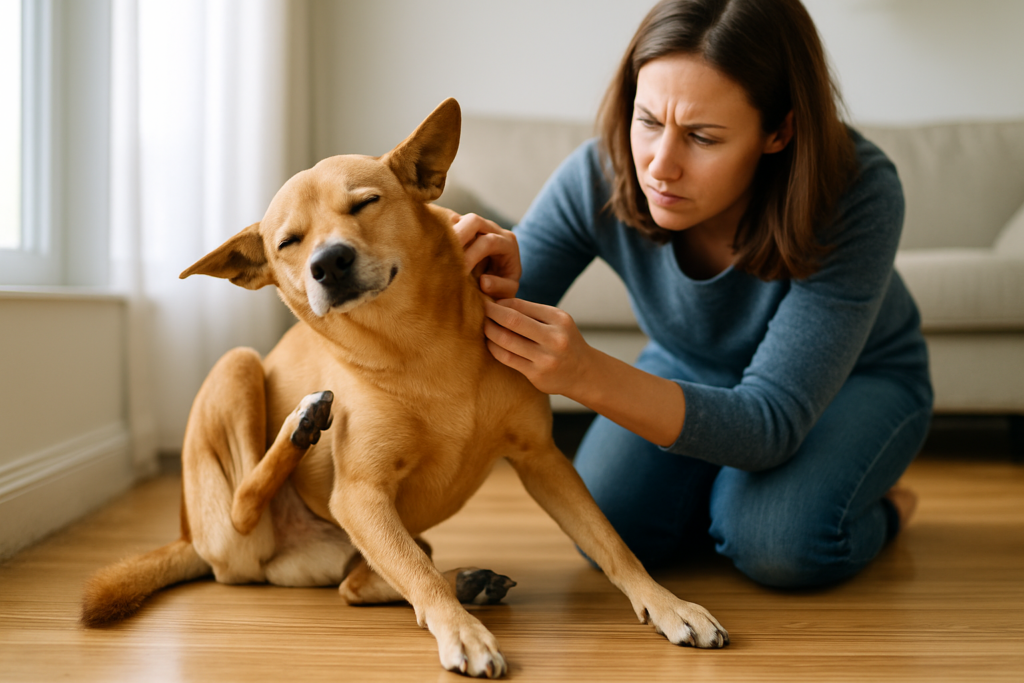
That feeling of dread when you spot a wasp nest is universal. It’s an instant jolt of alarm, but what you do in those first few moments is critical for keeping everyone safe. The absolute key is to calmly assess the situation from a safe distance—I’m talking at least 20 feet away. Whatever you do, never try to knock it down or blast it with a garden hose. A careful, cool-headed evaluation will tell you what you're really up against and help you figure out the best way to handle the nest.
What to Do When You Discover a Wasp Nest
The second you see that nest, your instinct might be to panic. Fight that urge. Instead, just pause and observe from a distance. The most important first step is figuring out what kind of stinging insect you’re dealing with, because they all come with very different risks.
To help you out, here’s a quick guide to what you might be seeing. Knowing the difference between a paper wasp and a yellow jacket is the first step in making a smart decision.
Quick Guide to Wasp Identification and Threat Levels
Use this table to quickly identify common stinging insects and understand the risks associated with their nests.
| Wasp Type | Nest Appearance | Typical Location | Aggression Level |
|---|---|---|---|
| Paper Wasps | Small, open-comb, umbrella-shaped | Under eaves, porch ceilings, railings | Low (unless nest is disturbed) |
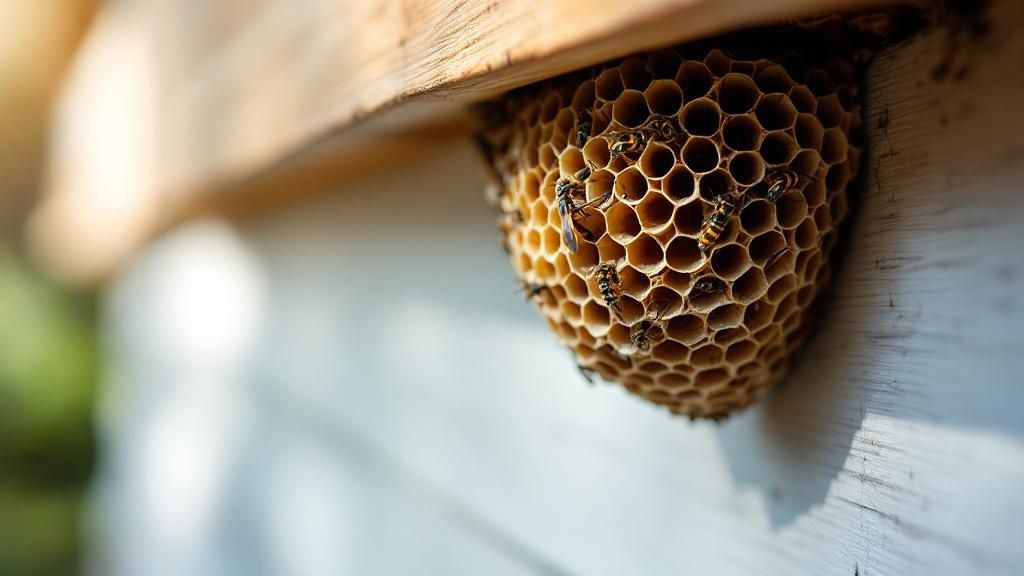
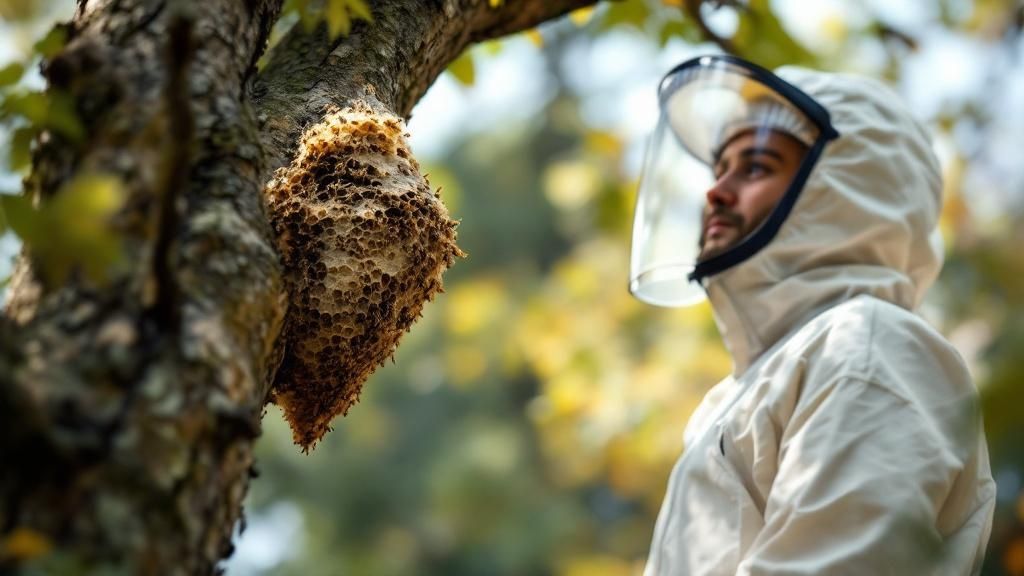
| Hornets | Large, enclosed, grayish paper sphere | Trees, shrubs, side of buildings | High (very defensive of nest) |
| Yellow Jackets | Hidden, with a small entry hole | Underground, wall voids, attics | Very High (extremely aggressive) |
| Mud Daubers | Small, tube-like structures made of mud | Siding, sheds, under overhangs | Very Low (solitary, rarely sting) |
Once you’ve got a better handle on the “who,” it’s time to figure out the “where.” The location is everything.
Assess the Location and Risk
After you've identified the likely culprit, take a hard look at where the nest is located. This single factor is the biggest decider of how dangerous it is to you, your family, and your pets.
- High-Traffic Areas: A nest right by your front door, hanging over the patio, or tucked near the kids' swing set is a major problem. Everyday life could easily provoke an attack, which means you need to get it taken care of, and fast.
- Low-Traffic Areas: If the nest is in a forgotten corner of the backyard or way up on a second-story eave far from any activity, it might not be an immediate threat.
The nest's size is the other critical piece of the puzzle. A tiny nest the size of a golf ball in early spring is just the queen and a handful of workers. But a nest the size of a basketball in late summer? That could be home to thousands of very territorial wasps.
What Not to Do Under Any Circumstances
Your immediate reaction—or lack thereof—is everything. The last thing you want to do is rile up the colony. When threatened, wasps release an alarm pheromone that signals the entire nest to launch a coordinated attack.
Never, ever try to knock a nest down with a broom, throw rocks at it, or spray it with a hose. These actions are a surefire way to provoke a massive, painful response, and they won't even solve the problem.
Stay away from the nest, especially during the daytime when wasps are at their most active. Make sure kids and pets are kept far from the area until you have a solid plan. A calm assessment is your best tool for deciding whether you can tackle a DIY wasp nest removal or if it's time to call in a professional for a safe, guaranteed solution.
Deciding Between DIY Removal and a Professional
Making the call between tackling a wasp nest yourself and bringing in a professional is a critical moment. Get it right, and the problem vanishes. Get it wrong, and you could be facing a swarm of angry wasps, multiple painful stings, and a much bigger headache than when you started.
Your decision should really boil down to a few key factors, starting with personal safety. Before you even think about grabbing a can of spray, consider if you or anyone in your household has a known allergy to insect stings. If the answer is yes, the decision is already made. A severe allergic reaction can be life-threatening, making a DIY attempt a gamble you can't afford to take. In this situation, calling a professional isn't just a good idea—it's the only safe choice.
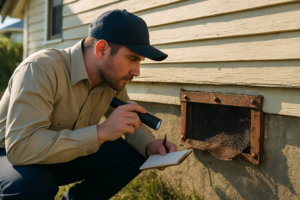
When to Immediately Call a Professional
Beyond allergies, the nest's location and the type of wasp are the next biggest factors. Certain scenarios dramatically increase the risk and complexity, pushing the job firmly into professional territory.
You should call an expert without hesitation if you encounter:
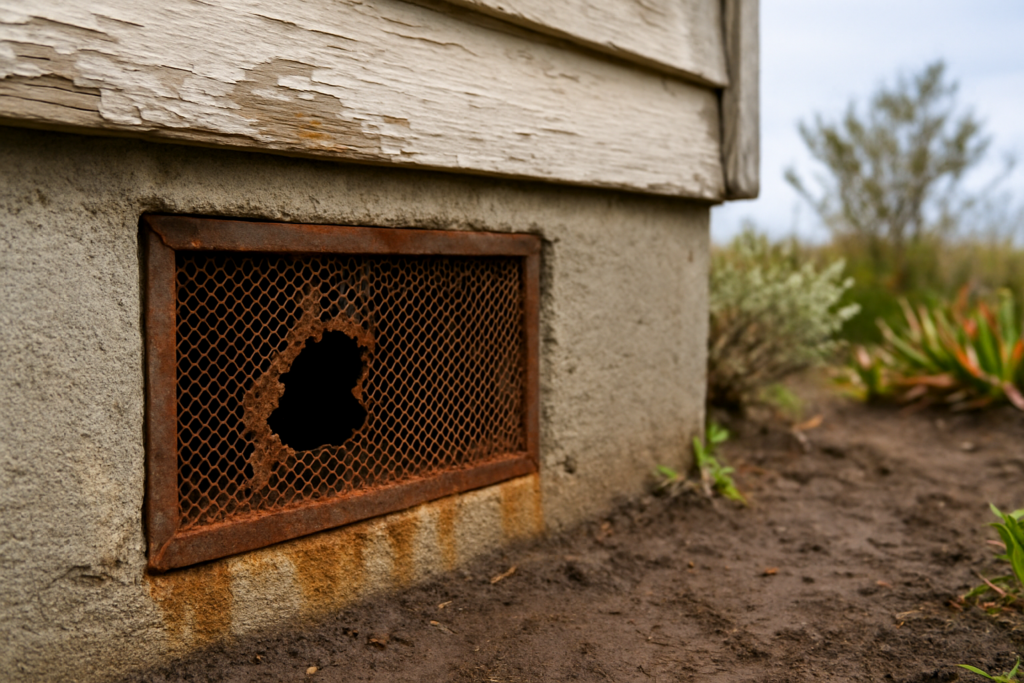
- Nests Inside Structures: If you see wasps flying into a tiny crack in your siding, a roof vent, or a gap in the foundation, the nest is almost certainly inside a wall void. Trying to spray that opening is a huge mistake. It often traps the wasps inside, forcing them to chew their way into your living space to escape.
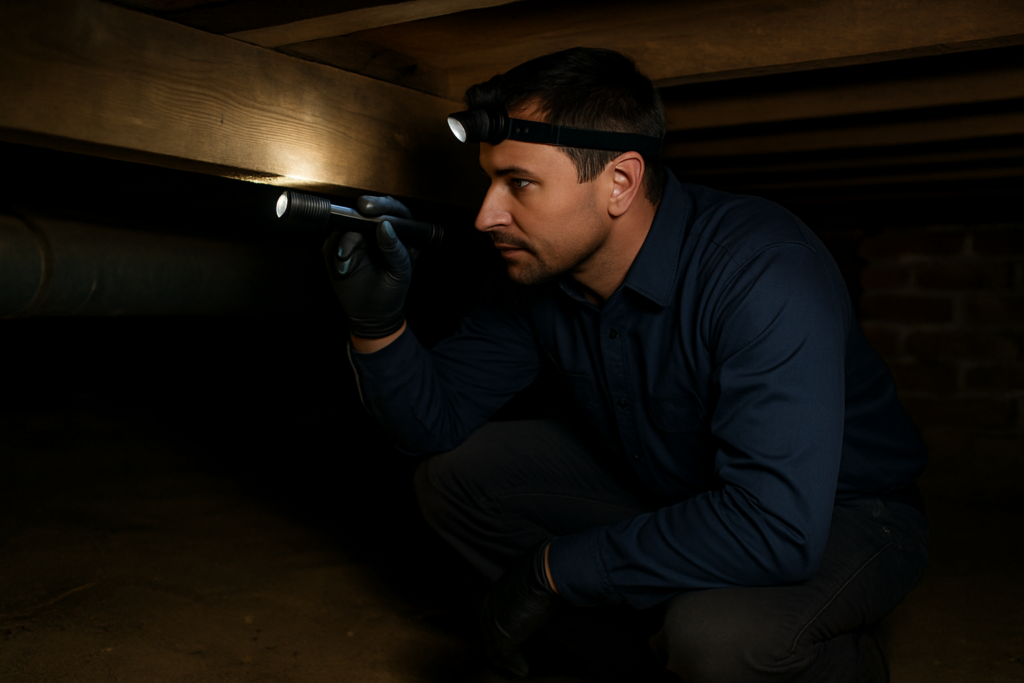
- High or Hard-to-Reach Nests: Is the nest tucked under a second-story eave or way up in a large tree? Reaching it safely means using specialized ladders and equipment. Professionals are trained for this and have the right gear to avoid a dangerous fall, which is a very real risk for the average homeowner.
- Underground Nests: Yellow jackets are notorious for building massive colonies underground. These nests can have several hidden entrances and house thousands of highly aggressive insects. A DIY approach is extremely dangerous and almost guaranteed to fail.
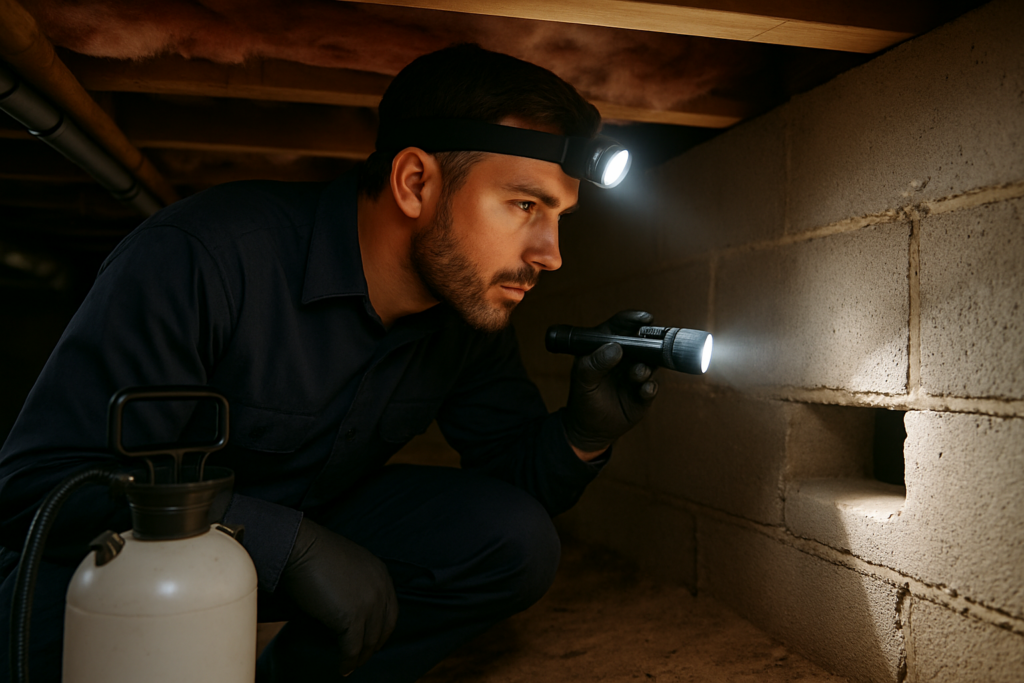
Any nest that's difficult to access, hidden within your home's structure, or belongs to an aggressive species like yellow jackets or hornets is a job for an expert. They have the proper protective gear and specialized treatments to resolve these high-risk situations safely and effectively.
The Value of Professional Expertise
Hiring a professional isn't just about avoiding stings; it's about getting the job done right the first time. The pest control industry is a major part of our economy for good reason. In fact, the global market for pest control services was valued at USD 22.94 billion in 2023 and is projected to climb to USD 34.09 billion by 2032. This growth is driven by an increasing need for reliable solutions as insect populations expand.
When you hire a pro, you're paying for guaranteed results. They don't just eliminate the active threat; they have the experience to spot contributing factors and help prevent future infestations. If you're facing a stubborn wasp problem, it's worth learning about local wasp and yellow jacket extermination services in Santa Cruz County to see what a complete, professional solution includes.
Ultimately, when you weigh the cost against the potential for serious injury and property damage, calling a professional is a smart investment in your peace of mind.
Your Essential Safety and Preparation Checklist
So, you’ve decided a DIY wasp nest removal is something you can handle. That’s great, but your success—and more importantly, your safety—hinges entirely on what you do before you even get near the nest. Rushing this part is the single biggest mistake people make, and it can be a painful one. A little meticulous planning is what separates a manageable task from a dangerous disaster.
Your absolute number one priority is your personal protective equipment (PPE). Don't even think about tackling a nest without it. This isn't just about throwing on a jacket; it’s about creating a complete, sealed barrier between you and a whole lot of very angry wasps.
A single wasp sting is bad enough, but a full-blown swarm attack is a different level of danger. When wasps feel threatened, they release alarm pheromones that call the entire colony to defend the nest. Your gear is the only thing that will protect you from that unified, defensive response.
Gear Up for Safety
Think in layers. Your main goal here is to leave zero exposed skin. A common misconception is that a single layer of clothing is enough, but wasps can—and absolutely will—sting right through a thin t-shirt or jeans.
- Protective Clothing: Start with thick, long-sleeved clothes, long pants, closed-toe shoes, socks, and a good pair of gloves. To really seal the deal, tuck your pant legs into your socks and your shirt into your pants. Eliminate every possible gap.
- Head and Face Protection: This is completely non-negotiable. At the very least, you need a hooded sweatshirt pulled up tight, safety goggles, and a mask or scarf wrapped around your lower face. Honestly, the best investment you can make for maximum safety is a proper beekeeper’s veil or a full bee suit.
Plan Your Approach and Retreat
Once you're geared up, it's time to think strategy. The timing of your approach is everything. Wasps are at their most sluggish and are almost all inside the nest at dusk and dawn. This is your prime window of opportunity.
Before you do anything else, plan your escape route. I can't stress this enough. Clear a direct, unobstructed path from the nest all the way to a safe spot indoors. Get rid of any trip hazards—garden hoses, kids' toys, stray tools, you name it. You need to be able to beat a hasty retreat without a second thought.
Make sure all family members, especially children and pets, are safely inside with the windows and doors shut tight. The last thing you need is a curious kid or dog wandering into the line of fire.
The image below breaks down the core steps that even the pros follow, highlighting just how important a structured and safe approach really is.

This process really drives home the importance of locating the nest, gearing up correctly, and then seeing the job through with preventative measures. Each step is designed to keep you safe and make the removal effective. Only when your gear is on and your plan is locked in should you even think about moving forward.
DIY Removal Techniques for Exposed Nests
When you've sized up the situation and decided a DIY removal is a safe bet for an exposed nest, your best friend is almost always going to be an aerosol insecticide. This is the most reliable and common method for a reason. We’re talking about those accessible nests, like one hanging from a low tree branch or tucked under a porch railing. Tackling it yourself is entirely doable, but only with the right gear and a smart, careful game plan.
The whole process boils down to two things: maintaining a safe distance and executing a quick, decisive strike.
Your go-to tool is a can of wasp and hornet spray—and I can't stress this enough, make sure it's specifically for wasps and hornets. Don't just grab any old can of bug killer from under the sink. You need a product that fires a jet stream capable of reaching 15 to 20 feet. That distance is your safety bubble, letting you douse the nest without getting close enough to trigger a full-blown swarm. Always check the label to confirm it's designed to kill on contact and thoroughly soak that papery nest material.
Executing the Removal Process
Okay, you’ve got your protective gear on and your escape route is clear. Now it's time to move. As we've covered, the ideal time is dusk or just before dawn. This is when nearly all the wasps are back home for the night and their activity is at an absolute low.
Approach the nest slowly and deliberately. No sudden movements, no loud noises—anything that could tip them off. From your safe distance of 15–20 feet, take aim. Your target isn't just the outside of the nest; you need to hit the main opening, which is almost always at the bottom.
The real secret to success here is to completely soak the nest's interior. You want to spray a continuous, powerful stream directly into that opening for several seconds. The goal is to drench the paper combs inside, ensuring the insecticide reaches the queen and the entire colony, not just the guard wasps at the entrance.
Once you’ve unloaded on the nest, don't stick around to admire your work. Immediately turn and make a quick, clean exit along your planned escape route. Get inside and shut the door behind you. A few agitated wasps might come buzzing out, but the potent spray should neutralize most of the colony almost instantly.
Post-Treatment and Nest Disposal
After the initial spray, patience is key. You need to wait a full 24 hours before going anywhere near that nest again. This gives the insecticide ample time to do its job and ensures any stragglers who were out foraging return and make contact with the residual spray.
The next day, check it out from a safe distance. If you see zero wasp activity buzzing around the opening, you can call it a success. Now you can safely knock down the empty nest with a long pole or broom handle and toss it in a sealed bag for disposal.
This DIY method is popular for a reason, but it's just one piece of a much bigger pest management puzzle. The global market for insect pest control was valued at around USD 12.41 billion in 2021 and is projected to keep growing. This trend, tracked by sources like Polaris Market Research, shows just how common and serious wasp infestations are worldwide. It underscores the demand for effective solutions, from DIY sprays to professional services offered by industry leaders like Bayer and Rentokil Initial. This just reinforces the need for both safe DIY methods and knowing when to call in the pros.
How to Keep Wasps from Coming Back

Getting rid of a wasp nest is a huge relief, but the job isn't truly over. Honestly, removal is just the first step. The real win is making sure a new colony doesn’t move right back in next spring.
Your goal now is to shift from reactive removal to proactive defense. It's all about making your property as unappealing as possible to a scouting queen wasp looking for a new home. A few key adjustments around your house and yard can dramatically reduce the odds of dealing with this headache all over again.
Seal Up All Potential Entry Points
Wasps are opportunistic, and they’ll happily exploit any small, sheltered opening they can find to build a nest. The first and most critical line of defense is a thorough inspection of your home's exterior. You have to think like a wasp searching for a safe place to start her family.
- Foundation and Siding: Get up close and look for any cracks in your foundation or gaps in the siding. Use a quality caulk or sealant to fill every single opening, no matter how tiny it seems.
- Utility Lines: Pay special attention to where pipes, vents, and utility lines enter your home. These spots often have small, unsealed gaps that are basically a "welcome" sign for wasps.
- Vents and Openings: Make sure all your attic, soffit, and dryer vents are covered with secure, fine-mesh screens. This blocks access for pests without restricting the airflow your home needs.
Creating this physical barrier is one of the most effective ways to stop a nest before it even starts. It’s a simple weekend project that pays dividends all year long.
A common mistake I see is homeowners only focusing on obvious, ground-level gaps. Remember, queen wasps are excellent climbers and flyers. You need to inspect your roofline, eaves, and even second-story window frames with the same attention to detail.
Make Your Yard Less Inviting
You'd be surprised how much simple yard maintenance can impact wasp prevention. Wasps are drawn to easy food sources and sheltered areas, so cleaning up your outdoor space makes a world of difference.
Always remove fallen fruit from trees and make sure your trash and recycling bins have tight-fitting lids. Wasps are attracted to the sugary stuff and proteins they find in decomposing food. Trimming back overgrown bushes and shrubs also helps by eliminating the sheltered spots they look for to build nests. A clean, well-kept yard offers fewer resources and hiding spots.
For those looking for extra protection, many homeowners are turning to eco-friendly wasp control treatments that can deter wasps without harming the local environment.
The demand for both prevention and removal is skyrocketing. In fact, the global pest control market is projected to grow from USD 24.4 billion in 2024 to an incredible USD 49.6 billion by 2034. This surge is fueled by increasing urbanization, which inadvertently creates more nesting sites for pests like wasps, highlighting the growing need for both professional services and smart DIY prevention. You can discover more insights about these pest control market trends to understand the bigger picture.
Common Wasp Removal Questions Answered
Even with the best game plan, you're bound to have questions when staring down a wasp nest. It’s a stressful situation, and getting clear answers can be the difference between confidently handling it and making a risky mistake. Let’s walk through some of the most common questions I hear from homeowners.
What Is the Best Time of Year to Remove a Wasp Nest?
The sweet spot for removing a wasp nest is definitely late spring or early summer. At this point, the queen has usually just started her work. The nest is small—often no bigger than a golf ball—and the colony has very few workers to defend it. Tackling it early is dramatically easier and safer.
On the flip side, late summer and early fall are the absolute worst times to try and remove a nest. The colony has exploded to its peak population by then, sometimes housing thousands of very aggressive, defensive wasps. If you find a huge, bustling nest late in the season, your best bet is often to just leave it be. The first hard frost of the year will kill the colony naturally, and wasps won’t return to an old paper nest the following year.
Key Takeaway: Early-season removal is a low-risk, simple job. A large, late-season nest is a high-risk situation best left to the pros or to Mother Nature.
Are There Any Natural or Eco-Friendly Removal Methods?
Yes, there are, but their effectiveness is hit-or-miss, and they almost always require you to get dangerously close to an active nest. One popular DIY trick is spraying the nest with a soap and water solution. It works by clogging the wasps' breathing pores, but you need to drench the nest repeatedly, which is a great way to provoke a full-blown swarm.
Peppermint oil is another "natural" method people talk about, but it's much better as a deterrent to prevent wasps from building a nest than it is for getting rid of an established colony. For a truly effective and eco-friendly removal, professionals often use high-powered, specialized vacuums to physically suck the wasps and the nest material right out, with no chemicals involved.
What Should I Do If I Get Stung During Removal?
Your number one priority is to get away and get inside immediately. When a wasp stings, it can release an alarm pheromone that basically screams "attack!" to the rest of the colony. Don't waste time swatting—just retreat to a safe, indoor spot as quickly as you can.
Once you’re safely away from the threat, you can deal with the sting itself:
- Get the Stinger Out: If the stinger is stuck in your skin, scrape it out sideways with a fingernail or the edge of a credit card. Try to avoid using tweezers, as pinching the stinger can inject more venom into the wound.
- Clean the Area: Gently wash the spot with soap and water to keep it from getting infected.
- Bring Down the Swelling: Apply a cold pack or some ice wrapped in a towel to the area. This will help minimize swelling and take the edge off the pain.
- Manage the Discomfort: Over-the-counter pain relievers and antihistamines can help with the pain and itching that follows.
Most importantly, you need to be vigilant for signs of a severe allergic reaction, known as anaphylaxis. If you start having trouble breathing, notice swelling in your face or throat, feel dizzy, or see hives spreading across your body, you need to seek emergency medical attention right away.
Is It Ever Okay to Just Leave a Wasp Nest Alone?
Absolutely, provided its location doesn't pose a threat to anyone. If you spot a nest tucked away in a remote corner of your backyard or high up in a tree far from paths and patios, leaving it alone is a perfectly fine option. Wasps are actually beneficial predators, helping to control garden pests like caterpillars and aphids.
However, the story changes completely if that nest is near a doorway, under a deck railing, on a patio, or anywhere near a children's play area. In these high-traffic spots, the risk of stings is just too high to ignore. For the safety of your family and pets, the nest needs to go. Many businesses also find that a nest near an entrance is a major liability that can drive away customers. For more on that, check out our guide to wasp control for businesses.
When you need a guaranteed, safe, and effective solution for your wasp problem, trust the experts at West Pest Co. Our team provides fast, reliable wasp nest removal to protect your home and family, ensuring your peace of mind. Contact us today for same-day service and a pest-free property.