Quick Answer
To seal windows properly, clean the frame well, use caulk on fixed gaps, and install weatherstripping on parts that move. Done right, it helps block ants, spiders, and rodents while cutting drafts and wasted energy. If you're dealing with recurring pest entry, fixing the gap matters more than spraying alone, as explained in why spraying pests inside your home rarely solves the real problem.
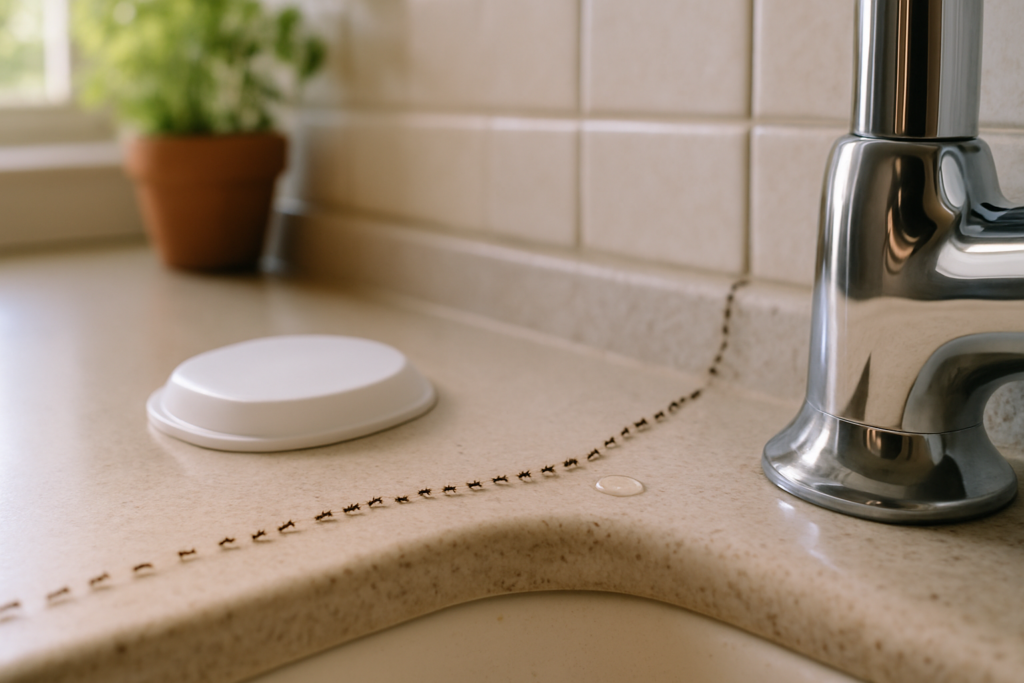
A lot of people start looking up how to seal windows after the same two problems show up at once. You feel a cool draft near the frame, and then you notice ants on the sill or a spider slipping in from the corner.
That overlap is real, especially in older homes around Santa Cruz County. The same small gaps that leak air also give pests an easy path indoors, so sealing windows is one of those jobs that improves comfort and tightens up pest prevention at the same time.
Introduction
If you're trying to learn how to seal windows, you're probably dealing with a window that feels loose, drafty, or just plain unfinished around the edges. In plenty of Santa Cruz homes, those little cracks around trim, sashes, and exterior joints are enough to invite in ants, spiders, and sometimes rodents looking for a way inside.
There’s also an energy side to it. The U.S. Environmental Protection Agency says homeowners can save an average of 15% on heating and cooling costs by air sealing their homes, including leaks around windows and doors (U.S. Environmental Protection Agency, 2024). Done carefully, window sealing is practical home maintenance, not a cosmetic chore.
Why Window Sealing Is a Priority for Santa Cruz Homes

Santa Cruz homes deal with a mix of damp coastal air, sun exposure, and older construction details that don’t always stay tight over time. Window seals dry out, trim pulls back, and tiny openings start showing up where the frame meets siding or interior casing.
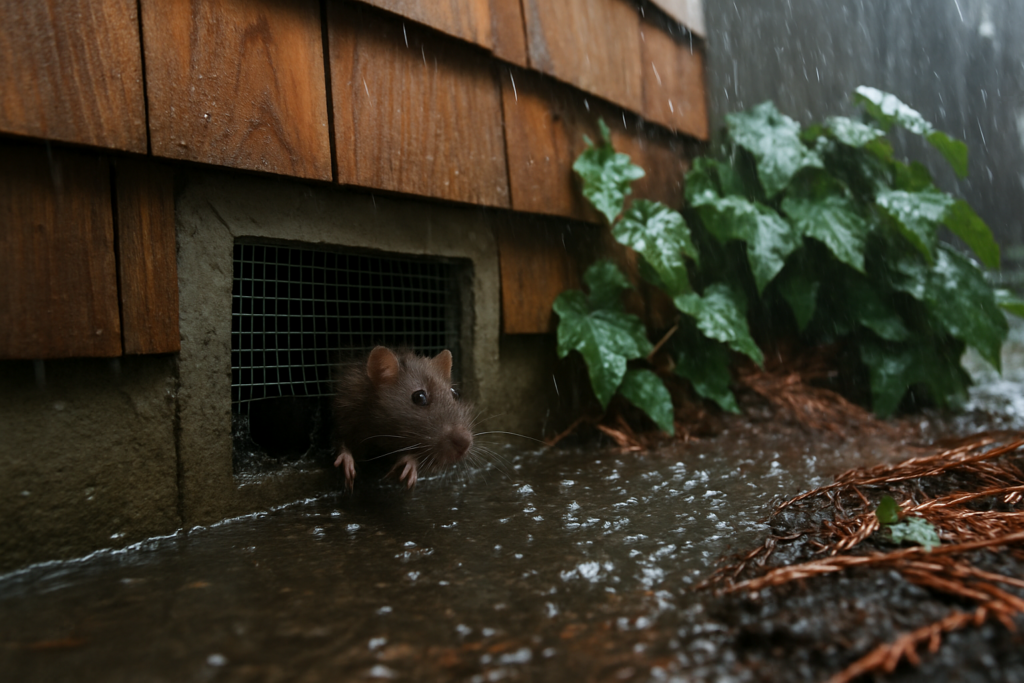
That matters for comfort, but it matters for pest control too. Ants follow scent trails through very small cracks, spiders use quiet gaps that don’t get much traffic, and rodents will test weak spots around exterior penetrations and window assemblies, especially when conditions outside push them toward shelter.
Energy loss starts at the edges
Windows don’t have to be broken to waste energy. The weak point is often the perimeter, where old caulk shrinks, weatherstripping flattens, or trim was never sealed well in the first place.
The Department of Energy notes that approximately 30% of a home's heating energy is lost through windows (U.S. Department of Energy, 2024). That doesn’t mean every problem is solved with a bead of caulk, but it does explain why perimeter sealing is worth doing before you start blaming the whole window unit.
Practical rule: If air can move through it, pests can usually investigate it.
If you want a clearer explanation of what a window seal is, that breakdown helps separate glass seal issues from the frame and trim gaps most homeowners can address.
Pests use the same openings you feel as drafts
In the field, the pattern is pretty consistent. If a homeowner says, “We only get ants at this one window,” that window usually has a gap at the frame, a poorly sealed sill, or worn weatherstripping.
For rodents, the issue is often nearby. Window corners, utility penetrations below the sill, and trim transitions can all work together as access points. If winter rodent activity has been a problem in your area, this look at why rodents invade Santa Cruz houses in winter gives useful local context.
The material choice matters
Not every sealant does the same job. Some products handle sun and moisture well but aren't ideal where pests may chew or push through. Others are fine for a draft stop on a movable sash but won’t hold up as an exterior exclusion material.
A quick comparison helps:
| Material | Good for | Usually a poor choice for |
|---|---|---|
| Silicone or high-quality exterior caulk | Fixed gaps at frames and trim | Areas that need to move freely |
| V-strip or compression weatherstripping | Sashes and movable joints | Wide exterior voids |
| Standard expanding foam | Hidden cavities with the right application | Exposed pest-prone gaps where chewing is a concern |
Choosing the Right Sealing Materials for Pests and Weather

Walk into a hardware store and the sealing aisle gets confusing fast. For window work, the main question is simple. Is the gap on a part that stays still, or on a part that has to open and close?
That answer usually tells you whether to reach for caulk, weatherstripping, or a filler behind the sealant. It also tells you whether the repair will help with pests or just temporarily hide a draft.
Caulk for fixed gaps
Use caulk where the materials should stay put. That includes the outside edge of the window frame, joints between trim and siding, and interior frame-to-wall seams.
For pest prevention, this is usually the first product I’d choose. A good bead of sealant closes the crack completely, stays flexible, and doesn’t leave a soft edge that insects can work around easily.
It is important to consider chew resistance and durability, aspects often ignored by many draft guides. Unsealed cracks are primary entry points for pests, and some materials, like standard expanding foam, can be chewed through by rodents, with some studies showing a 25% failure rate in high-infestation homes (This Old House, 2025).
Weatherstripping for moving parts
If the window sash has to move, don’t caulk it shut. Use weatherstripping instead.
V-strip works well for the sides of double-hung or sliding windows where you need compression and movement. Foam tape can work on some applications, but it tends to be less durable in spots that get frequent use or moisture. For drafty older windows, weatherstripping often makes a bigger comfort difference than people expect.
Use caulk on what should never move. Use weatherstripping on what has to.
A solid companion read is this guide to sealing entry points for pests, especially if you’re also checking screens, trim transitions, and other small access points near windows.
Backer rod and mesh for bigger voids
Some gaps are too wide for caulk alone. If you try to bridge a big opening with sealant only, it tends to sag, crack, or pull away.
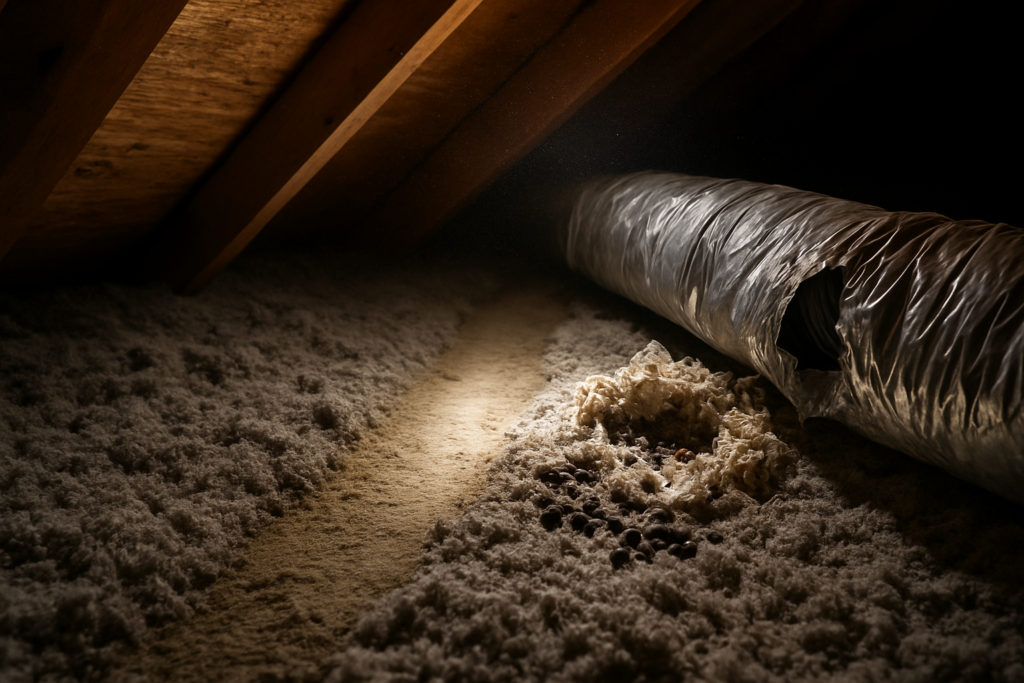
In those cases, use backer rod first so the caulk has something to span over. If the opening suggests rodent pressure, a physical barrier such as copper mesh behind the finish seal is a smarter approach than foam alone. That’s especially true around older trim details and utility-adjacent gaps.
If spiders are part of the reason you’re doing this work, how to prevent spiders covers the broader cleanup and exclusion side that goes with sealing.
Low-toxicity options that still hold up
A lot of homeowners here want low-odor, lower-toxicity products, and that’s reasonable. You don’t need harsh materials to do good sealing work.
Look for these traits instead of marketing buzzwords:
- Exterior rating: Use a sealant made for sun, moisture, and temperature swings.
- Paintability if needed: Helpful for interior trim and visible finish areas.
- Flexibility after cure: Rigid products fail sooner when wood and vinyl expand and contract.
- Pest resistance: For vulnerable areas, choose denser, durable materials over soft foam-only fixes.
For most homes, the sweet spot is a quality exterior sealant on fixed joints, weatherstripping on moving parts, and a solid filler behind larger openings where needed.
A Practical Guide on How to Seal Windows Correctly

A window can look sealed and still leak air, draw in ants, or give spiders a quiet edge to hide behind. Around Santa Cruz, that usually happens because the visible crack got attention, but the joint was dirty, the bead was too heavy, or the moving parts were sealed like fixed trim.
Start with inspection. Find out whether you are sealing a fixed joint, a movable sash, or a trim gap that opens into the wall cavity. Each one takes a different approach, and that choice affects both pest pressure and energy loss.
Prep the joint so the seal can hold
Cut out loose or failed caulk all the way back to sound material. Then vacuum dust, brush out debris, and wipe the surface until it is clean enough for the new sealant to bond. If the area is damp, let it dry first. Caulk applied over dirt, chalk, or moisture is one of the fastest ways to get peeling and callbacks.
Wide joints need support before sealant goes in. Install backer rod so the caulk spans the gap instead of sinking into it. If the opening shows signs of rodent use, add a physical barrier behind the finish seal rather than relying on soft filler alone.
Apply caulk with control
Run a small, consistent bead and press it into the joint as you tool it. A neat line matters, but contact matters more. If the caulk only sits on the surface, it can skin over and still leave a path for drafts and small pests.
A few habits improve the result:
- Cut the nozzle small: It is easier to add a little more than to clean up a heavy bead.
- Keep the gun moving steadily: That prevents blobs at corners and thin spots across the run.
- Mask visible edges when appearance matters: Painter's tape helps on finished trim.
- Tool the bead right away: Fresh caulk shapes and bonds better than partially skinned material.
- Let it cure fully: Opening and closing the window too soon can break the seal.
One quick field check helps. If the bead already looks oversized before tooling, there is probably too much material in the joint.
Install weatherstripping on parts that move
Caulk is for fixed gaps. Weatherstripping is for sash edges and contact points that need to open and close. On double-hung and sliding windows, that distinction matters. Caulk the wrong area and the window either sticks shut or tears the repair loose the first time someone uses it.
Fit the weatherstripping before you commit. Close and lock the window to make sure the material compresses without buckling. If the lock does not engage cleanly, use a thinner product or shift the placement.
Leave drainage paths open
The problem is often nearby. I see homeowners seal the lower edge aggressively, then wonder why moisture builds up or the repair fails early.
Do not block weep holes or other drainage paths built into the window assembly. Water needs a way out, especially on coastal homes that deal with wind-driven moisture and morning dampness. The goal is to stop uncontrolled air and pest entry, not trap water inside the frame.
Check the surrounding gap, not just the frame
If ants, spiders, or mice keep showing up after the window itself has been sealed, inspect the trim-to-siding joint, the stool and apron inside, and the wall area directly below the opening. Pest entry around windows often happens at the perimeter, not through the obvious crack in the frame.
If rodents are part of the bigger problem, this guide on mouse-proofing your home helps connect window sealing to the rest of the exclusion work.
Common Window Sealing Mistakes to Avoid

A bad seal job can look finished and still fail quickly. Most problems come from sealing the wrong place, using the wrong material, or skipping prep.
Here are the mistakes that show up most often:
- Caulking moving parts: If the sash is supposed to slide or lift, caulk will glue it in place or tear loose.
- Sealing weep holes: Those drainage openings are there for a reason. Blocking them can trap moisture.
- Using interior-only caulk outside: Sun and moisture break it down fast.
- Overfilling with foam: Too much pressure can distort parts of the window assembly.
- Ignoring the interior trim: Air and insects can still work through hidden gaps from inside the wall line.
What to do when the first repair doesn’t hold
If a fresh bead keeps separating, stop adding more on top. Cut it out and find the reason it failed.
Usually it comes down to one of these:
| Problem | Likely cause | Better fix |
|---|---|---|
| Caulk peeling away | Dirty or damp surface | Remove, clean well, reapply |
| Draft still present | Wrong location sealed | Check sash, trim, and lock points |
| Pest activity continues | Entry point is nearby, not at the visible crack | Inspect surrounding trim, siding, and lower wall areas |
A neat-looking seal isn’t always a complete seal. Test the window after the material cures.
A simple draft check with a smoke source or careful hand test around the frame will tell you more than appearance alone.
FAQ Your Window Sealing Questions Answered
Can I seal windows myself or should I hire someone?
If the gaps are visible and easy to reach, many homeowners can handle basic caulking and weatherstripping. If the window is high, damaged, leaking water, or tied to a bigger pest issue, it’s smart to get an experienced set of eyes on it.
What’s the best time of year for how to seal windows work?
Dry weather makes the job easier because surfaces stay cleaner and cure conditions are better. Fall and spring are usually practical times to inspect and reseal, but any dry stretch works.
Should I use caulk or weatherstripping?
Use caulk on fixed joints and weatherstripping on parts that move. If you mix those up, you either trap the window shut or leave the actual draft path untreated.
I sealed the window and still see ants. What now?
That usually means the entry point is nearby rather than exactly where you sealed. Check the sill, trim transitions, siding gaps, nearby utility penetrations, and the outside foundation line before assuming the repair failed.
Will sealing windows make my house too airtight?
Basic window sealing in an average home usually solves leakage problems rather than creating ventilation problems. You’re tightening obvious unwanted gaps, not turning the house into a sealed box.
How often should I check my window seals?
Give them a look during seasonal cleanup, especially after wet weather or hot sun exposure. If the caulk is cracked, shrunken, or pulling away, it’s time to redo that section.
When DIY Is Not Enough Call a Santa Cruz Pest Expert
Sealing gaps around windows is one of the better DIY projects a homeowner can take on. It helps with comfort, slows pest entry, and gives you a clearer picture of whether the problem was a simple access point or something larger.
But there are times when DIY runs out of road. If you still have rodent signs, repeated ant trails, spider activity that keeps coming back, or multiple likely entry points around the home, you may need a full inspection instead of another tube of caulk. The same goes for older homes where window gaps are only one part of a bigger exclusion problem.
If you want a professional opinion, start with a proper pest inspection. For homeowners in Santa Cruz County, that can save a lot of guesswork and help you decide what to seal, what to monitor, and what needs treatment. Yard and home pest treatments address active pests only. They don't eliminate eggs or full pest life cycles, so realistic planning matters.
If you're in Santa Cruz County and want a straightforward assessment of pest entry points around your windows, trim, and exterior gaps, West Pest Co. can help. Reach out for a low-pressure estimate and practical recommendations on what to seal, what to repair, and what to treat if pests are already active.
Sources
U.S. Environmental Protection Agency. "Seal and Insulate With ENERGY STAR Methodology." 2024. https://www.energystar.gov/saveathome/seal_insulate/methodology
U.S. Department of Energy. "Energy Efficient Window Coverings." 2024. https://www.energy.gov/energysaver/energy-efficient-window-coverings
This Old House. "Practical Air Sealing Techniques." 2025. https://www.thisoldhouse.com/windows/practical-air-sealing-techniques
RHawa.org. "Sealing Windows and Doors How It's Done." 2024. https://www.rhawa.org/blog/sealing-windows-and-doors-how-its-done